In this tutorial I’ll show you how to make a scary hi-voltage Reese bass. You may recognize this sound from the genre Drum N Bass. The techniques apply to nearly all DAWs and synths.
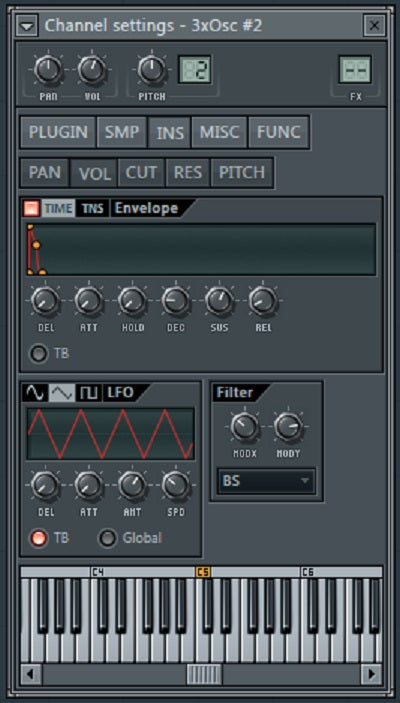
Step 1 Synth Setup
I’ll set all the oscillators to stereo-detuned saw waves, and I’ll change the pitch of the second oscillator ever so slightly. This will result in many sawtooth waves playing at nearly the same pitch, which will give us movement. I’ll also lower the third oscillator by an octave for extra grit.

The secret to a good Reese bass is making the sound change slowly over time. So I’ll add an attack to the sound with the volume envelope, and I’ll link the volume to an LFO for even more movement. I’ll change the filter to a Band Stop - also called a notch filter - and I’ll link this filter to an LFO as well.
Next I’ll add a little distortion with the freeware Camel Crusher’s compressor in Phat Mode.

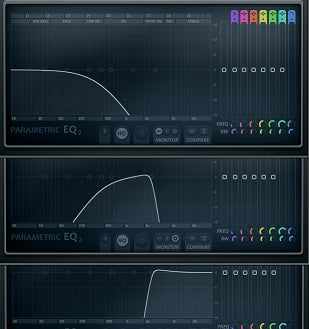
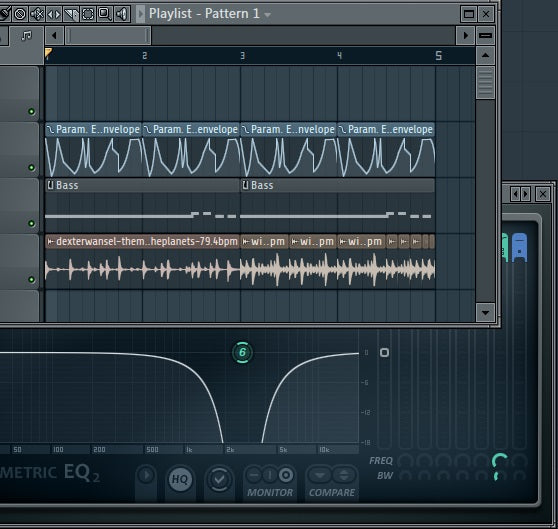
Step 2 Separate into Low Mid High
The next step in developing this Reese sound is to process the low, mid, and highs of the sound separately. To do this, I’ll disable the track’s “send to master” routing, and I’ll route the audio to three mixer tracks.

As you might expect I’ll put a low-pass EQ shape on the “low” track, a band-pass shape on the “mid,” and a high-pass on the “high.” Copying and pasting values at the cutoff points helps a lot here.
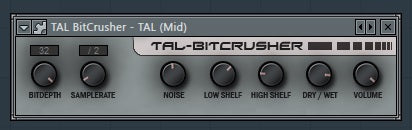
Step 3 Process Mids
Next I’ll add the Lo-fi plugin called TAL-Bitcrusher to the Middle band to bring in some nice digital noise. The audio below has the low and mid track playing but the high track is muted to make it easier to hear the effect.
Step 4 Process Highs
On the High band I’ll add FL Studio’s Blood Overdrive for a noisier timbre, and I’ll follow it up with a chorus and flanger to bring in—you guessed it—more movement to the sound. Feel free to use any plugins here, as long as they slowly, but noticeably change the sound over a long period of time.
Step 5 More Distortion
To bring the sound just a little bit further, you may want to route these three tracks one bus, and you could use a multiband distortion plugin of your choice. Alternatively, split the audio from that bus back into three bands and make your own multiband distortion plugin. After experimenting with different options, here’s what I got:

I also took the knob that determines the cut-off between mid and high and linked it to a slow LFO for even more movement.
Conclusion
Here’s the synth playing along with some drums from the Drum Breaks Pack. For this example I added a notch filter way at the very beginning of this whole crazy fx chain so that I could move it around while drums play.
Author Bio: Sean Duncan is an electronic music producer and freelance writer from Seattle, WA.
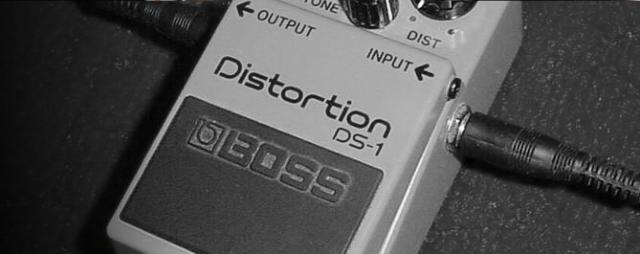
Banner Image Source: http://commons.wikimedia.org/wiki/File:DS_1_Distortion.jpg