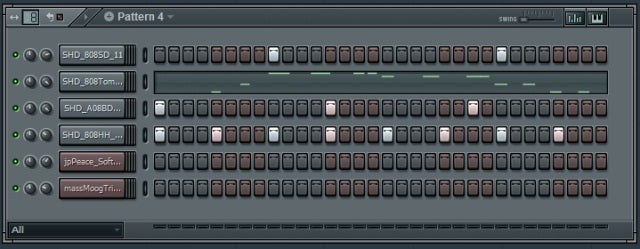
Many professional producers tune their kicks, snares, and toms to each song. This will make your drums catchy, prevent melodic
clashing and enhance the overall track. In this tutorial, we'll pinpoint the pitches, adjust them in key, and compare the before and after. The steps in this tutorial can be used in any project.
First, here is what our untuned drum loop sounds like:

Step 1 Identify the Fundamental Note
Drum sounds often have a fundamental tone that moves quickly from high to low, the trick is to find out where that note lands. Using an EQ that displays frequency information, look for the loudest note among the lowest frequencies of the sound.

Tip: Some percussive sounds do not have a particular note, such as a hat made from noise or a kick that ends before the down-sweeping tone settles on a particular note. It’s impossible to tune these sorts of sounds, but one could play the sound on lower or higher keys to get a brighter or duller sound.
Step 2 Isolate the Fundamental Note
Using the EQ, create a bandpass shape that will help you focus on the sound. I found moving the pitch up an octave made it easier in this case.

Step 3 Name the Note
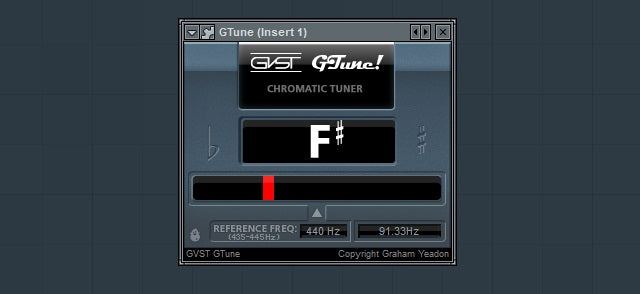
From here, there are two ways to name the note. You could adjust a sine wave synth until you find a note that matches, but I prefer to use a tuner. GTune and MTuner are free tuner plugins.

The tuner shows this drum sound lands heavily on the flat side of F#, which means it is somewhere between F and F#.
Step 4 Tweak the Note
Using the pitch knob on your sampler, tweak the sound until it lands mostly on the center of a particular note, any note. If it already lands center on a note, that’s great. It means less work for ya. In this example, tweaking the sound up 30 cents turns it into F#.

Step 5 Tell the Sampler
Once you tell your sampler the root note of the sound is now F#, or whatever it happens to be, you can play the sound like you would any keyboard instrument, which is handy for matching up kicks to basses or doing pitched rolls.

Step 6 Hear the Benefits
I tuned all the drum sounds in this way, except I didn’t touch the hi-hat because I couldn’t hear a note in it. In this example, the song is in F minor, and an F minor chord is F, G#, C. Generally you can’t go wrong pitching your drums onto any of the basic three notes.
For example, I have the kick playing on F, the snare on G#, and the tom plays mostly on C, shifts with the chord progression and does a pitched roll across the chord in the last bar.

Here are the UNTUNED drums in a mix (the before):
Here are the TUNED drums in a mix (the after):
Final Tips:
- Some songs don’t need to have pitched drums. And if you do have pitched drums, it’s not always necessary for the drums to change their notes along with the song. Sometimes it makes the track sound a lot better, sometimes it doesn’t. All that matters is the end result.
- Whenever you adjust a drum, render it out and save the name of the note in the filename, this will save you time in the future.
- An alternative method is to filter out the lower frequencies of the drum you have and replace with a tuned sound. To do this, you’ll need samples that already come with pitch information. For example, the creators of the 808 Drum Kit did this for most of kicks in the pack, and some of kicks are sampled at every note across multiple octaves, so you can play it like a bass guitar.
Author Bio: Sean Duncan is an electronic dance music producer and freelance writer from Seattle, WA.
Banner Image Source: http://www.flickr.com/photos/striatic/2070050/

3 comments
Thanks for the comment, much appreciated!
Thanks for the tip, will make a world of difference in my hip hop tracks… Thank u ❤
Great tutorial with good information! Keep up the good work.