Learn how to make a deep pluck sound that transforms into a bright, rich pad. This is a great technique for building up into an explosive section or even introducing a track, whether it’s House, Dubstep, Pop, Trance or EDM. Check out the audio preview and jump in!
Step 1 Setup
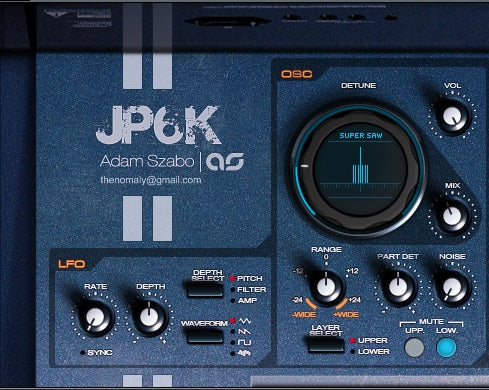
The synth I’m using is JP6K, but any synth with detuned unison saws will do the trick. Don’t have supersaws? You can easily make your own out of various saw waves, as demonstrated in the linked tutorial here.
I’ll start from the init patch, which is JP6K’s last preset, and I’ll bring the Detune amount down. I also decreased the Volume of the detuned saws for a clearer center. In the audio you’ll hear the before and after. Too much detune and it sounds like a big club synth, but with just a little detune it will sound more old-school and shiny in the second half.

Step 2 Chord Progression
A chord progression that rises will work great with this sound, and the one I chose is easy. Start with a simple E-Minor chord (E G B), and work your way up the keyboard shifting one white key each time. For warmth and richness, add the same chords on a lower octave, but don’t play the middle note on the lower-octave copy. These lower-copy “chords” are called fifths, and it works wonders.

Step 3 Pluck
To make this a pluck, I’ll lower the filter Cutoff. I’ll enable the filter envelope by turning up the Envelope Depth. The shape we’re looking for is one that quickly falls so I set the filter Decay to a very short time, and I’ll set the filter Sustain all the way down. In synth envelopes, the Sustain is the target and the Decay is how long it takes to get there. For a smoother fade-out I’ll turn up the Amp Envelope’s Release. The medium-length Release makes it sound like it’s ringing out a little longer, like a harp.

Step 4 Filter Sustain and Amp Release
To increase the brightness over time, I’ll turn up the Filter Sustain, and to bring us closer to a pad-like sound, I’ll increase the Amp Release in the same way. You may notice that at higher levels the Amp Release is somewhat like a reverb, but you may also notice that high release times can overload your CPU in polyphonic passages. This is because simultaneous notes take more computer power, and with longer releases the notes last a long time and overlap more.

Step 5 Filter Release and Cutoff
This next tweak will really sell the sound. By increasing the Filter Release I can make the sound’s brightness last longer. I’ll also increase the Cutoff during the last two bars so that the overall sound is brighter too. In the audio example you’ll hear just the last four bars because this is where these tweaks are most dramatic.

Step 5 Pad
I’ll add a section at the end where the synth plays long chords. In these long chords, I added the root note of each chord, playing another octave below. When you make monster chords it works well to have bass notes be fewer and spread apart the deeper you go.

The last tweak I’ll make is to increase the Amp Attack so the sound fades in smoothly during the last few bars. In the audio preview you’ll hear the sound lose all pluckiness. It has made its full transformation into a shiny pad.

Author Bio: Sean Duncan is an electronic music producer and freelance writer from Seattle, WA.
